How to Replace an iPhone Screen A Step-by-Step Guide


Accidents happen, and a cracked iPhone screen can be frustrating. While professional repair services are an option, replacing your iPhone screen yourself can save you money and teach you a valuable skill. Here’s a step-by-step guide to help you replace iphone screen safely and efficiently.
Tools and Materials You’ll Need
Before you start, gather these essential tools:
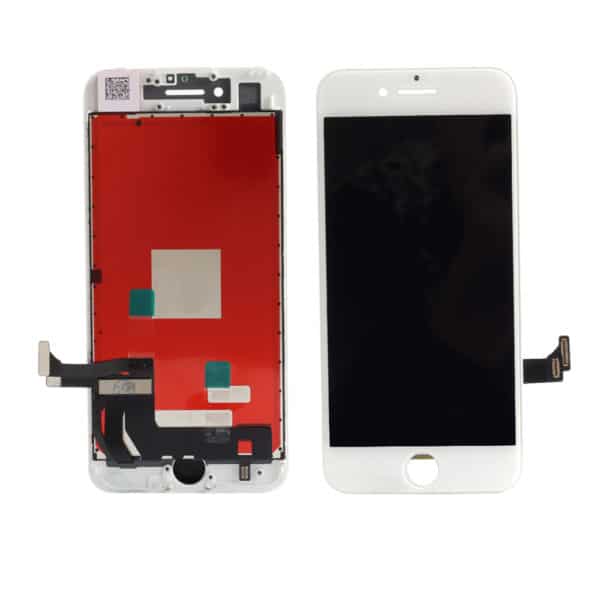
A replacement screen (ensure it’s compatible with your iPhone model).
A precision screwdriver set.
A suction cup or screen removal tool.
A spudger or plastic pry tool.
Tweezers.
Adhesive strips or glue (specific for phone screens).
Step 1: Prepare Your Workstation
Work on a clean, flat surface with good lighting. Power off your iPhone to avoid accidental electrical issues. Remove the screws near the charging port using a precision screwdriver.
Step 2: Remove the Broken Screen
Use a suction cup to lift the screen gently. If the screen doesn’t come off easily, apply heat using a hairdryer to loosen the adhesive. Carefully insert the pry tool between the screen and the frame, working around the edges to detach the screen.
Step 3: Disconnect Internal Components
Once the screen is lifted, you’ll see connectors attaching it to the motherboard. Remove the metal plates covering the connectors using the screwdriver. Carefully disconnect the cables using tweezers or your fingers.
Step 4: Install the New Screen
Align the new screen with the phone and reconnect the cables securely. Replace the metal plates and screws to hold the connectors in place.
Step 5: Seal the Screen
Apply adhesive strips or glue around the phone's frame. Gently press the new screen into place, ensuring it aligns perfectly.
Step 6: Test Your Phone
Power on your iPhone to check if the screen functions correctly. Test the touch sensitivity, display quality, and other features.
Final Tips
If you're not confident in your skills or lack the necessary tools, consider seeking professional help. Always handle components gently to avoid further damage.
Replacing your iPhone screen can be a rewarding DIY project if done with care. Take your time, follow these steps, and you’ll have a fully functional screen in no time!
To more deeply study us, visit our site.